.JPG)
Conditioning Polymer Clay
The purpose for conditioning the clay is to eliminate air pockets and bubbles in baked clay. What happens if you do not condition your clay? You risk the end result of your product having bumps. Those are the air pockets that did not get worked out prior to baking. And it's always disheartening to see that after the effort and time spent sculpting.
I always say that conditioning is the start and the most important, yet basic step in working with polymer clay. Good conditioning is crucial.
 1.) Choose your clay from the many varieties available.
 2.) Take slices from the brick of clay until you have several.
 3.) Run the sliced sections of clay through the pasta maker going from the widest to smallest position several times, folding over as you go.
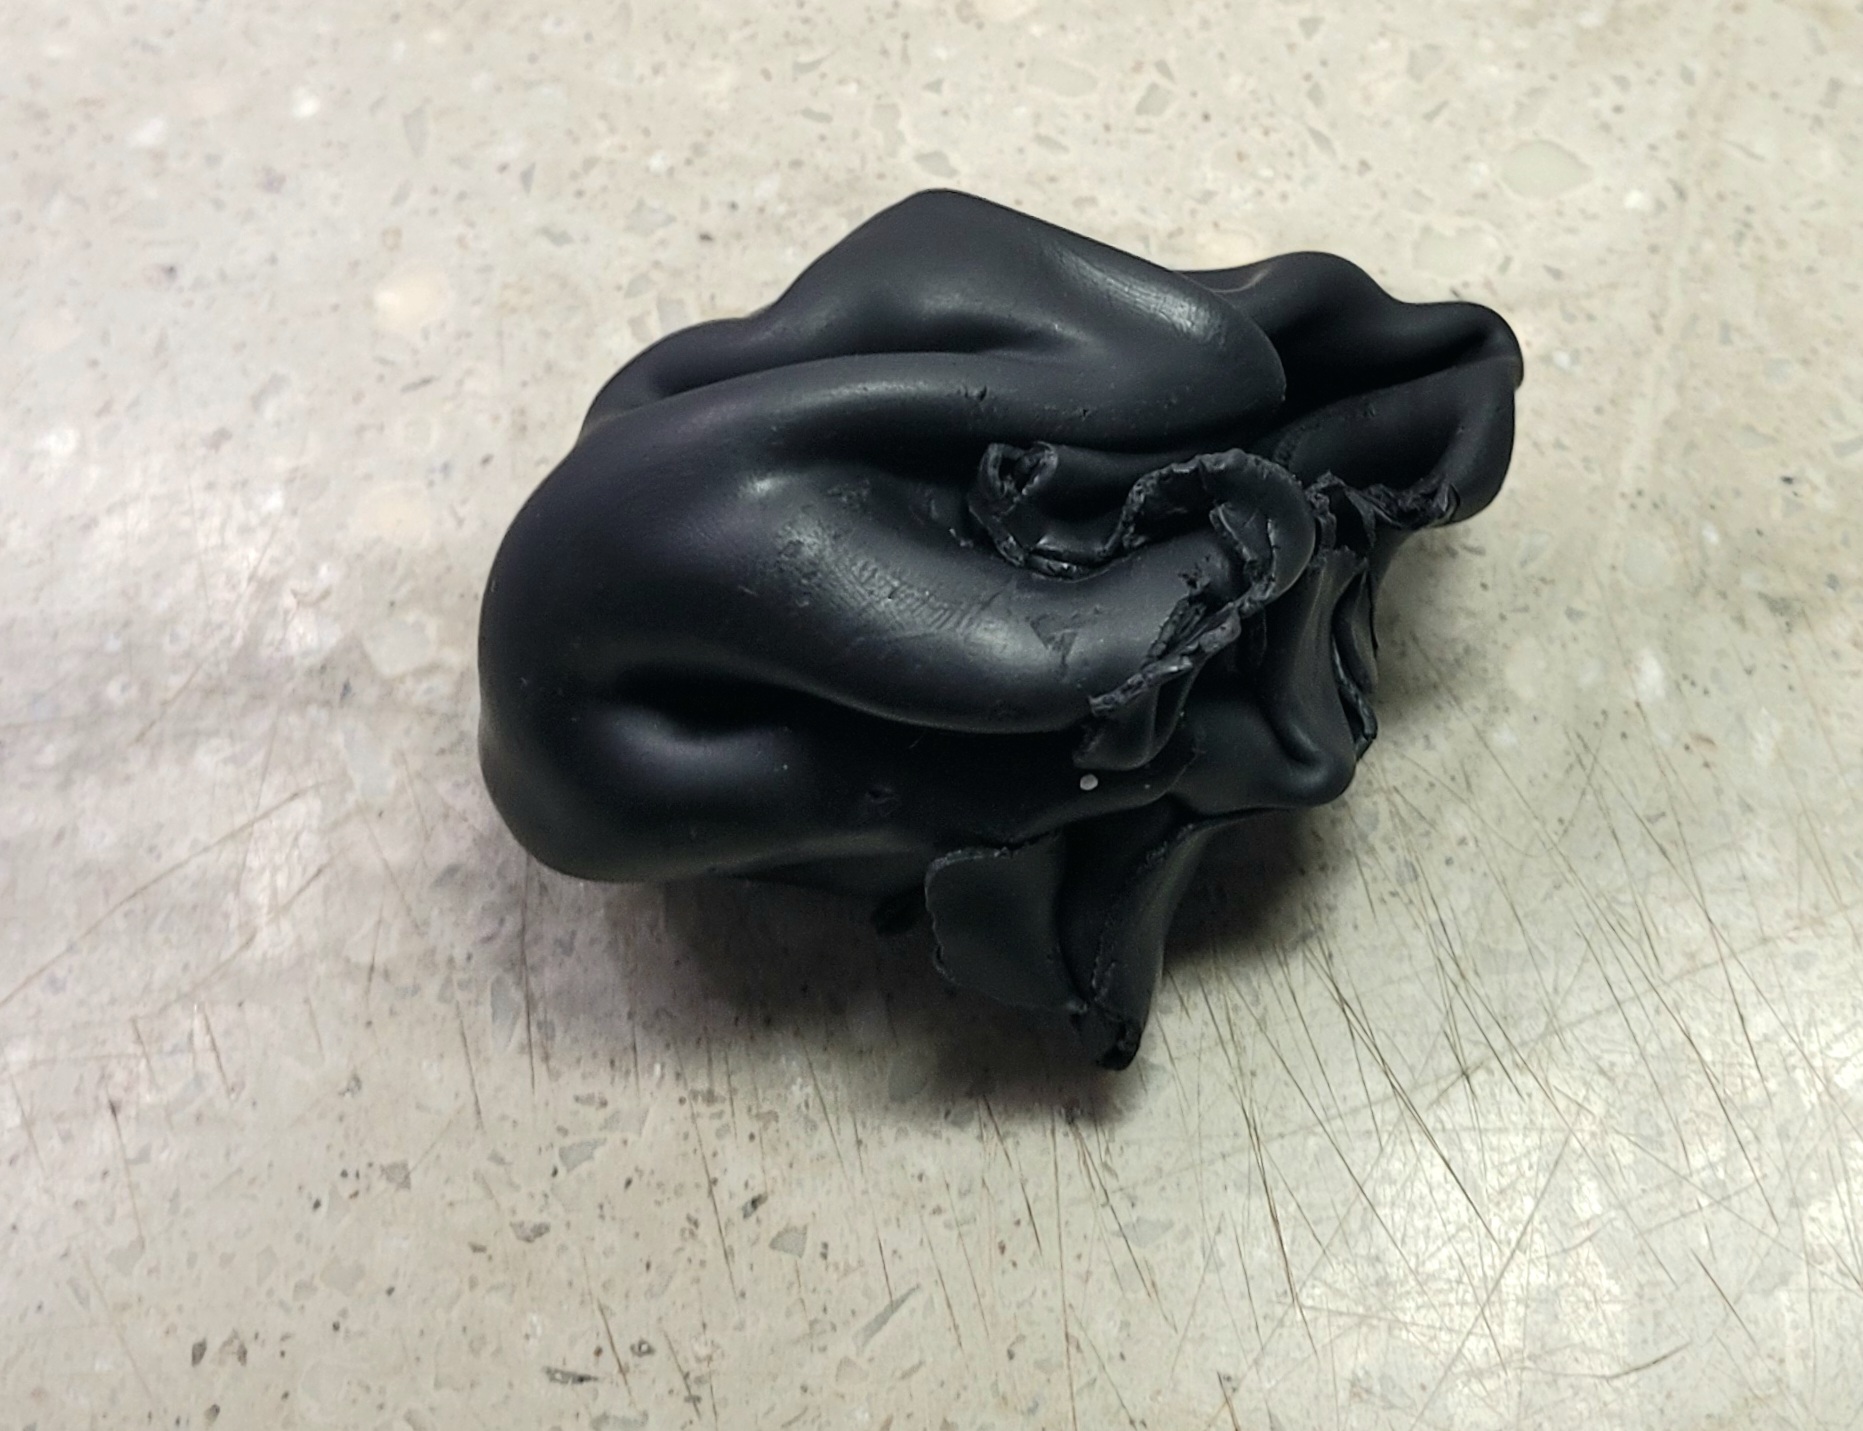 4.) Fold up the clay, making a tight ball.
 5.) Roll the clay into a stocky roll, or snake.
 6.) This step is my secret weapon to never having air bubbles. It's an extra step, but always worth the effort. Use your blade to make cuts in the clay roll (snake). Make the cuts from all directions making sure to go all the way through the from top to tile.
 7.) After the cutting process, gather up all the clay pieces and compact them together. This is the condensing stage. Let me be clear: one cannot condense enough. Make a roll (snake) and condense, condense and then condense some more.
  8.) When you have condensed enough and you will have a good feel for that, make the clay into a roll (snake) until the clay is smooth. You can then cut the roll in half, and you should see a nice smooth interior surface. You are now ready to sculpt something!
No comments:
Post a Comment